An AI image editor helps you create a revised version of a picture using a written instruction. Upload a PNG, JPG, or WebP image, describe the change you want, and choose an available image option before creating. It is useful when a photo or design is close to what you need but needs a new background, atmosphere, color direction, or visual treatment. You can use the result as a draft to compare with the original, then adjust the instruction and try again. Image edits can vary between attempts, so review every result before using it in a finished project.
Step by Step
How to Edit an Image with AI
01
Upload Your Image
Add one PNG, JPG, or WebP image up to 10MB. Start with a clear picture that shows the subject or layout you want to keep.
02
Describe the Change
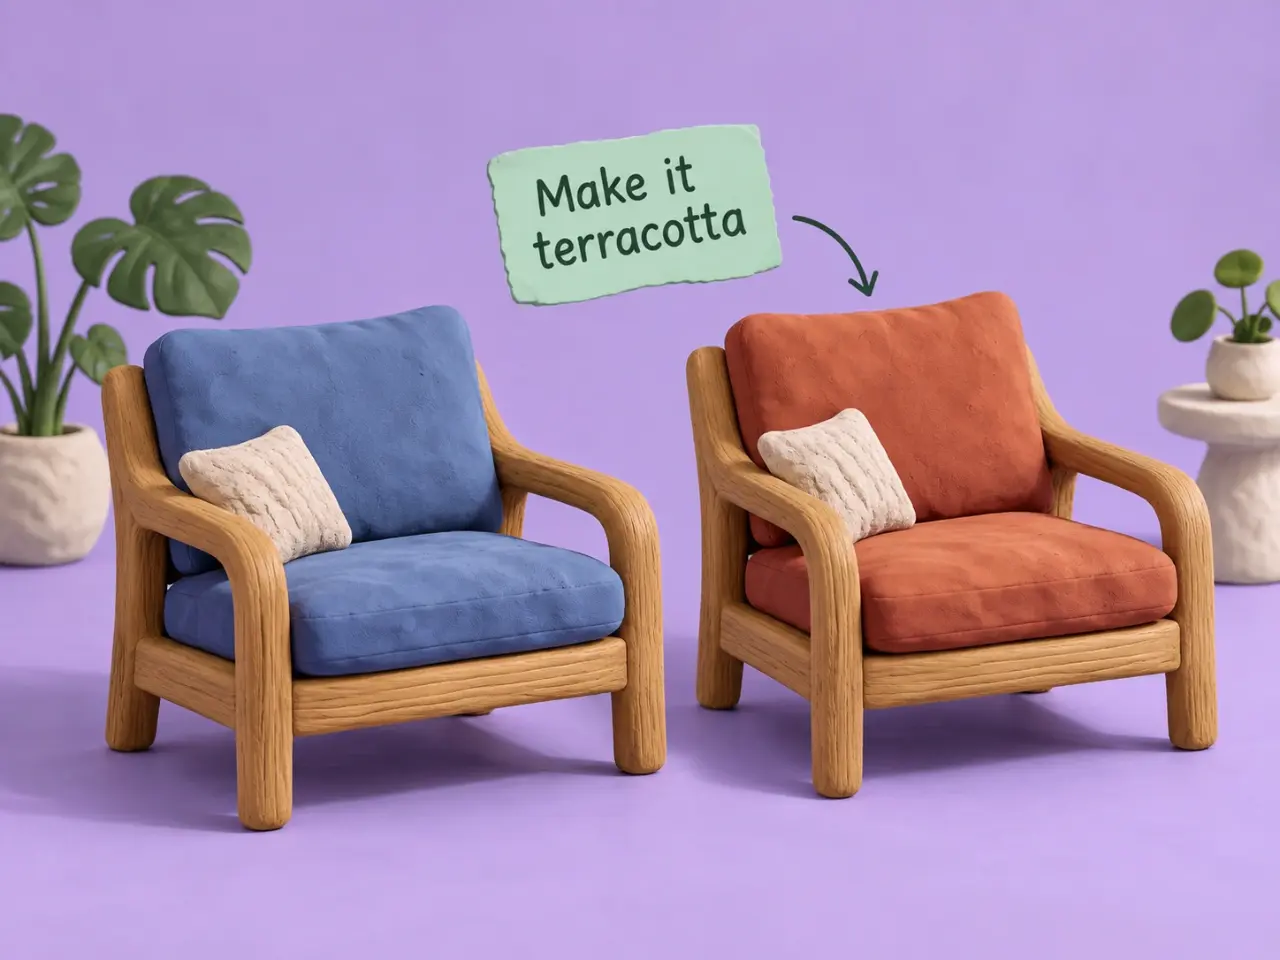
Write a focused instruction, such as changing the setting, lighting, palette, or overall mood. Name the details that matter most.
03
Choose Your Options
Select an available image option, size, and aspect ratio that suit where you plan to use the edited picture.
04
Create and Review
Create your image, compare it with the original in your recent creations, then download it or refine the instruction for another version.
Core Features
What Are the Core Features of AI Image Editor?
Easy Prompt-Based Image Editing
You do not need traditional photo-editing software or a complex retouching workflow to get started. Upload an image, describe the change you want in plain language, and create a new version to review. A focused instruction helps you explore an edit without learning a long list of manual tools first.
Choose from the available AI image models in the editor and select the option that best fits your edit. Model choices, output options, and credit requirements are shown in the workspace before you create, so you can make an informed choice for each image-to-image task.
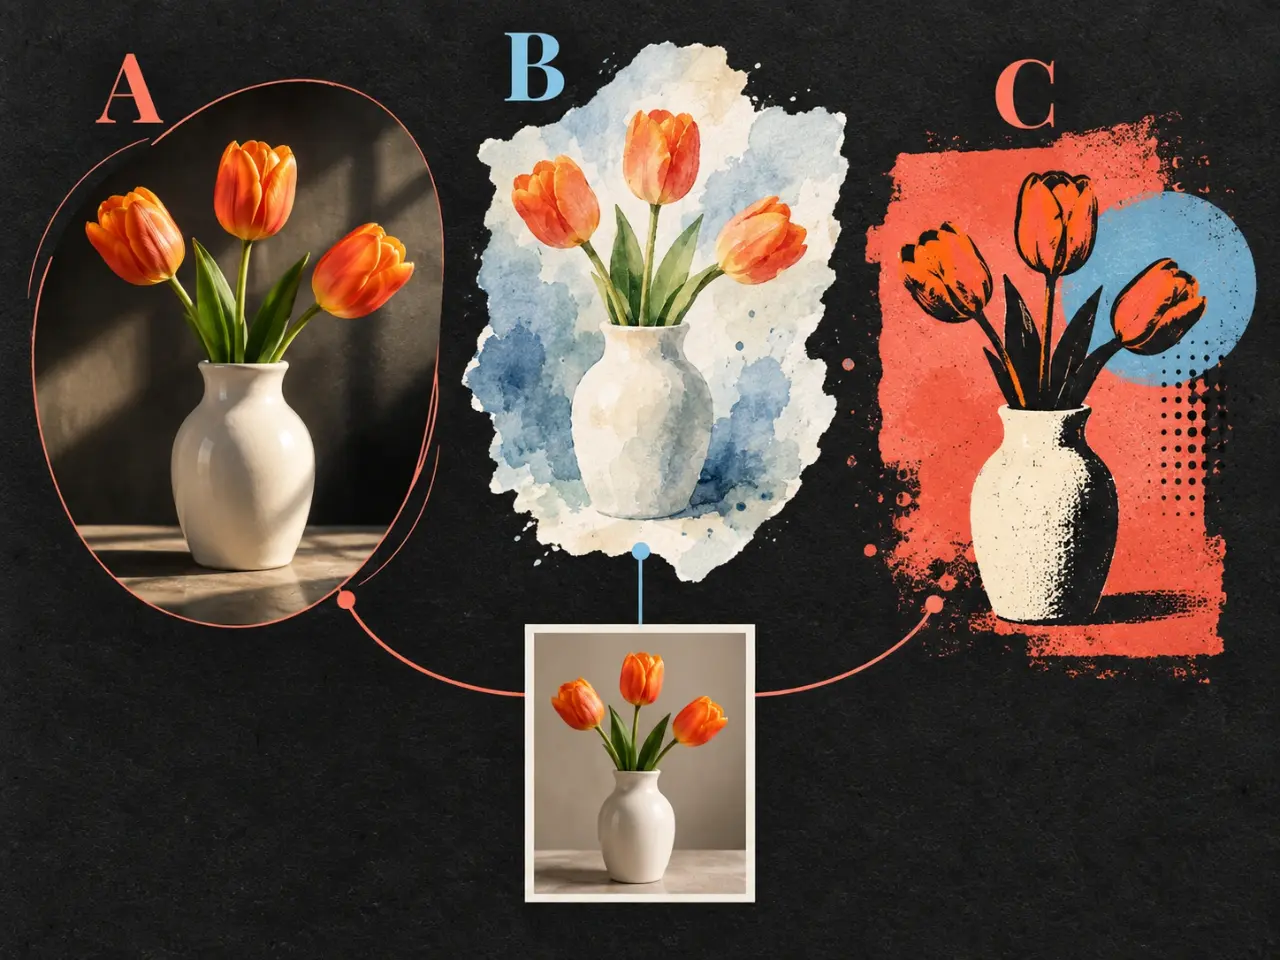
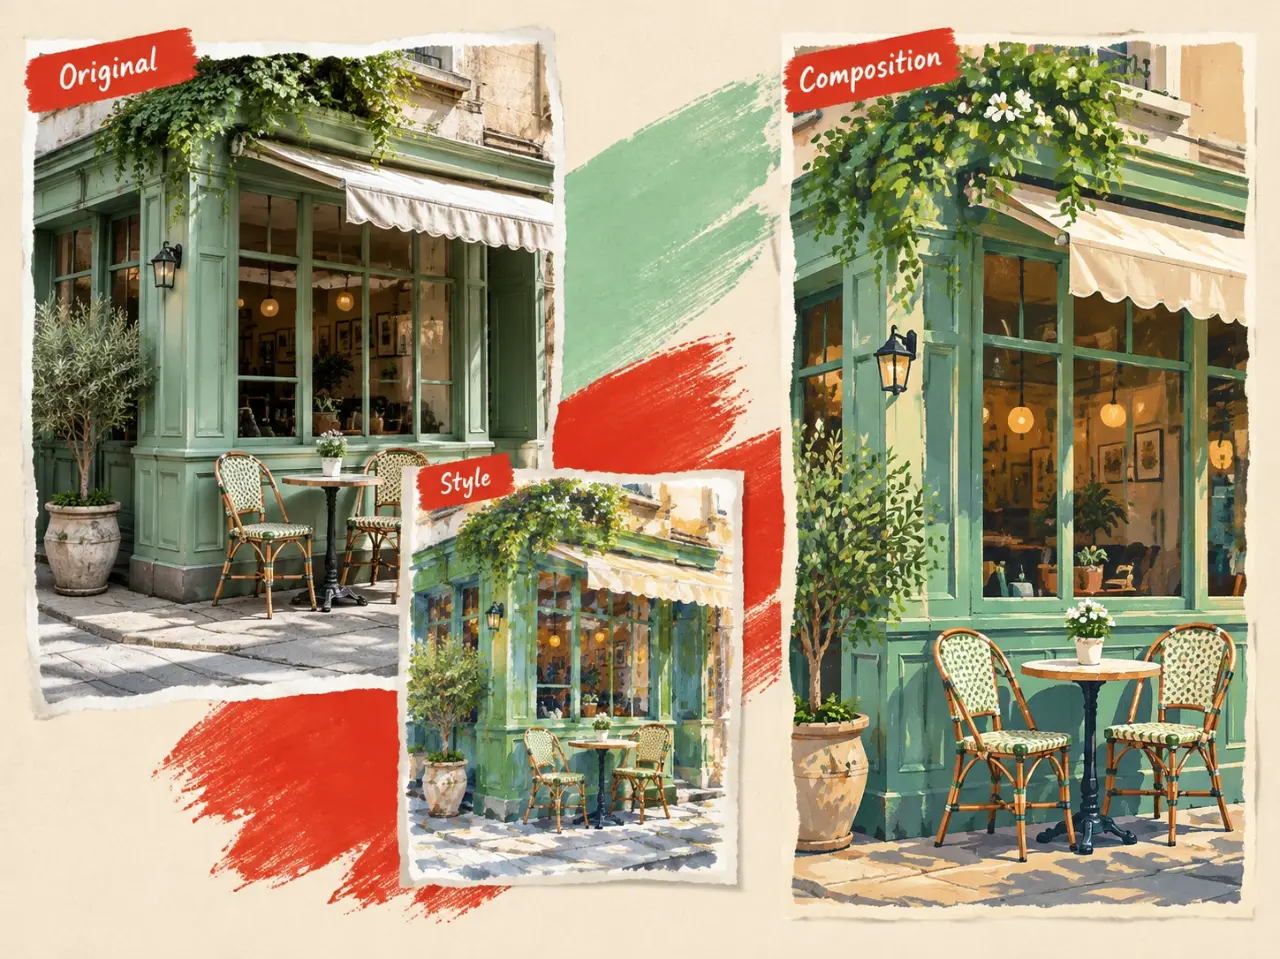
Guide the look of an edited image with a written direction, an available style, and the aspect ratio that fits where the image will be used. These controls help you explore a new mood, color direction, or visual treatment while starting from a picture you already have.
Select up to 4K output when it is available for your chosen model and settings. Higher-resolution options can give you a stronger starting point for large displays, product pages, presentations, and other placements where image detail matters. The editor shows the available resolution choices before you create.
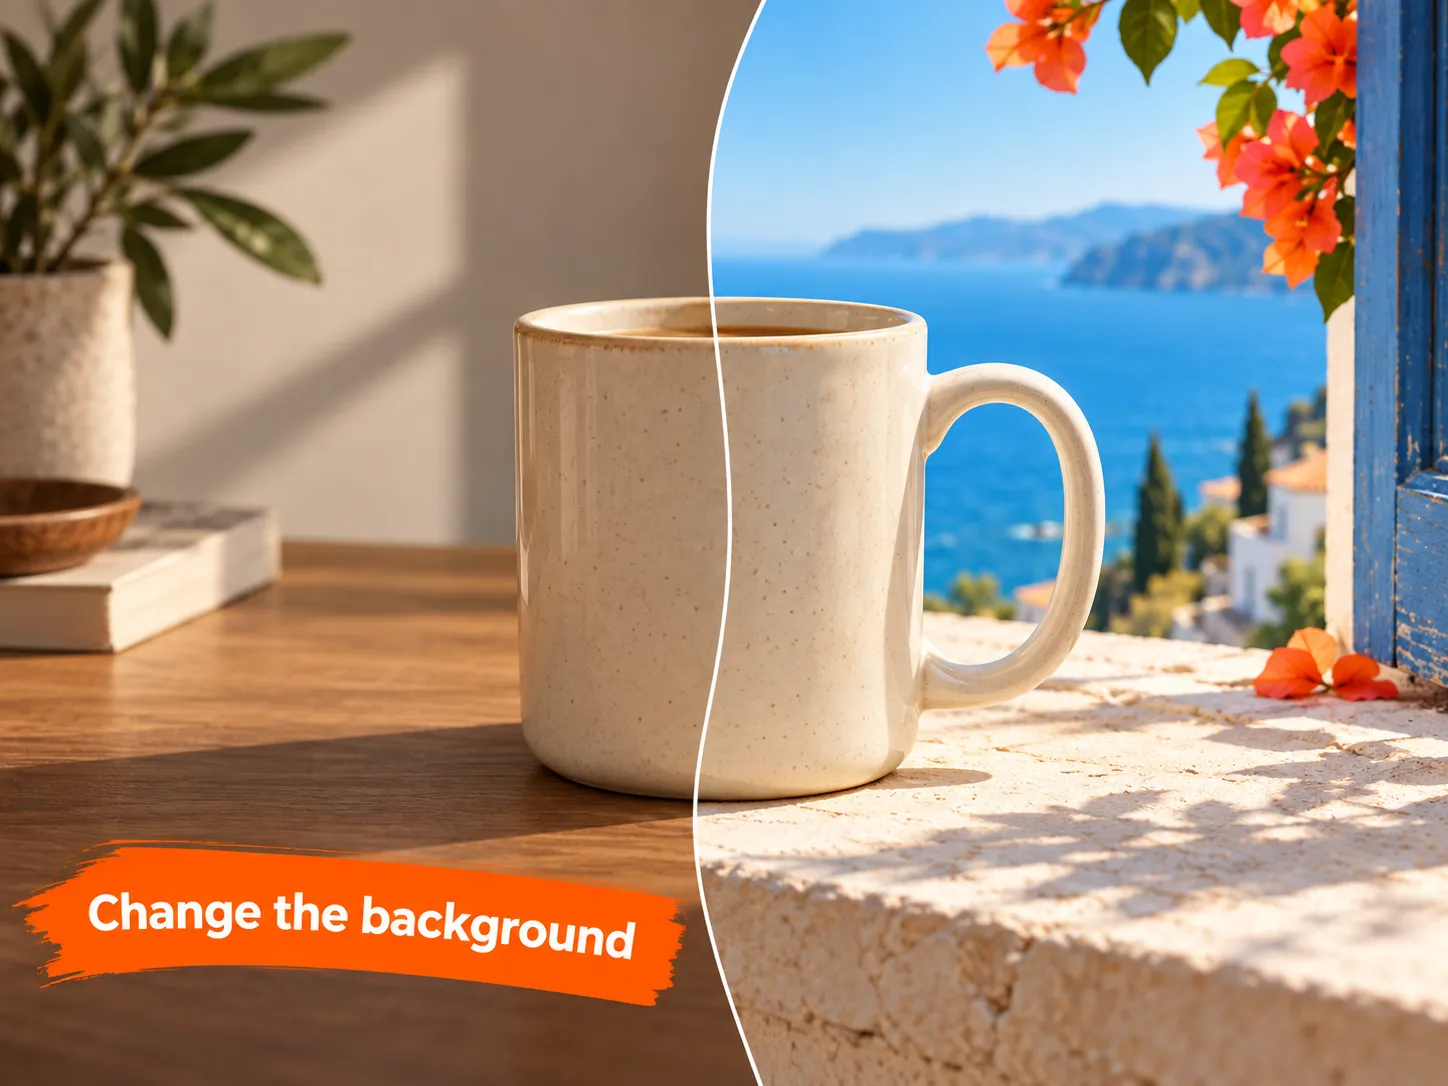
Try a cleaner setting, different surface, or seasonal mood for an existing product image. Review the result carefully to confirm product details remain suitable for your listing.
Rework Social Visuals
Adapt a successful post image for a new campaign, audience, or season. A specific instruction can help you test a new color direction without beginning from a blank canvas.
Develop Creative Concepts
Use a sketch, reference, or early mockup to create options for a discussion. Comparing a few focused edits can make a creative brief more concrete for your team or client.
Update Editorial Artwork
Give a blog, newsletter, or slide visual a new setting or tone that better matches the story. Check the final image at its intended display size before publishing.
Explore Portrait Directions
Test a different background, lighting mood, or visual style for a portrait reference. Keep expectations realistic and inspect facial details before choosing an edited result.
Create Campaign Variations
Start from a shared campaign visual and try separate versions for formats, seasons, or message themes. Keep each edit focused so your comparisons stay clear and useful.
Advantages
Why Use imglab AI Image Editor?
Free Credits to Start
Claim daily free credits after creating an account, then use them to test an image-editing direction before deciding on your next step.
One Workspace for Editing
Keep your uploaded image, written direction, available options, and recent creations together while you develop an edit.
A Visual Starting Point
An uploaded picture gives your instruction useful context when words alone would not clearly convey the layout or subject you have in mind.
Room to Refine
Review one version, adjust only the details that need attention, and create another result without losing your original editing direction.
Tips
Tips for Better AI Photo Edits
Begin with an image that clearly shows the important subject. State the main edit first, then add useful details about the setting, color, lighting, or mood. Avoid combining several unrelated changes in one request. If a result is close, revise one or two details at a time so you can see which instruction improves it. Keep your original image, and inspect every completed edit for accuracy, readable text, logos, fine product details, and suitability before publishing.
User Feedback
What Do Users Say About AI Image Editor?
“The AI Image Editor makes quick visual edits incredibly easy. I use it as an AI photo editor for thumbnails, product shots, and social posts.”
“This AI picture editor saves my team hours every week. Background removal, lighting fixes, and product retouching all look professional.”
“I love the AI image-to-image feature for exploring new creative directions. It helps me turn rough concepts into polished visuals in minutes.”
“Being able to edit images with AI has transformed our campaign workflow. The results are fast, consistent, and easy to customize for different channels.”
“Even without design experience, I can create beautiful images for my brand. This AI Image Editor is intuitive and delivers surprisingly high-quality results.”
“I use this AI photo editor for fast cleanup and creative enhancements before final retouching. It is especially useful when I need multiple image variations quickly.”
AI Image Editor FAQ
Is this a free AI image editor?
You can claim daily free credits after creating an account. Each edit uses credits, and the amount can vary with the image option and output choices you select. The creation button shows the credit requirement for your current selections before you start.
Which images can I upload?
The editor accepts one PNG, JPG, or WebP image up to 10MB. Choose a clear image with the subject or composition you want to use as your starting point. If a file is unsupported or too large, the upload area explains what needs to change.
How do I edit an image with AI?
Upload your picture, select Image to Image, and describe the change you want to make. Choose the available image options that fit your goal, then create a version to review. A short, specific instruction is usually easier to refine than a long list of competing requests.
Can I change an image background with AI?
You can describe a new setting or atmosphere for your uploaded image and create a new version to compare. Include relevant details such as the location, time of day, colors, and mood. Review the completed result to make sure it works for your intended use.
Why does the edited image look different from my request?
AI image edits can interpret the same instruction in different ways. Put the most important change first, remove conflicting details, and adjust only a small number of details between attempts. Treat each result as a draft to inspect rather than a guaranteed final output.
Can I download my AI-edited image?
After a creation is complete, review it in your recent creations and download the version you want to keep. Before using it publicly or in client work, check the image carefully for visual quality, accuracy, and any details that require manual correction.